When the Purge light on your Honeywell zone control panel blinks, it’s an indication that your HVAC system has encountered a fault more often than not with the Discharge Air Temperature Sensor (DATS). This fault can make your system act erratically, fail to heat or cool, or extend its operating time.
In this article, we will demystify all that you need to know regarding the Honeywell purge light blinking, including what it signifies, common causes, step-by-step troubleshooting, and tips on prevention.
What the Honeywell Purge Light Does
Honeywell zoning systems use LEDs on the control board to indicate system status. The Purge light typically appears yellow and indicates that the system is purging the ducts following a heating or cooling cycle.
At normal operation:
•The Purge light is steady during purge mode.
Considering that the purge cycle lasts around 2 minutes for air temperature and pressure equalization before shutting off, if the Purge light blinks, it means the system is trying to go into purge mode but is encountering a fault or lacks no sensor. Blinking purge light is not normal operation — it’s a built-in warning signal.
Common Causes for a Blinking Honeywell Purge Light
When the Honeywell purge light is blinking, it’s probably due to one of the following causes:
| Cause | Description |
| Missing Discharge Air Temperature Sensor (DATS) | The zone board anticipates a DATS connection but none is installed. |
| DATS sensor failure | The sensor may be broken, shorted, or open and is preventing it from taking correct measurements. |
| Loose wire or poor connection | Incorrect or corroded connections can interrupt the signal between the DATS and control board. |
| Faulty zone control board | An input circuit failure on the control board may cause an improper purge fault. |
| Crossed zone calls | Crossed zones calling for opposite modes (heat vs. cool) can produce non-stop purge cycles. |
| Damper motor failure | Stuck or faulty dampers can cause normal purging to fail. |
In the majority of Honeywell systems, a flashing purge light really means “DATS fault or not connected.” Repairing it usually returns everything to normal.
Also read: Honeywell Thermostat Troubleshooting
Step-by-Step Troubleshooting Guide
Prior to beginning, always shut off power to the HVAC system and zone control board to prevent electrical shock or harm.
1.Verify DATS Wiring and Connection
- Find the DATS terminals on your Honeywell control board (usually marked DATS or DATS-DATS).
- Check the wires plugged into these terminals. If there are no wires, that’s your issue — the panel can’t get air temperature.
- Ease up to secure if wires are secured together. Inspect for corrosion, loose screws, or damaged insulation.
- Measure continuity between board and sensor with a multimeter. “Open” or “short” reads, sensor or wire is faulty.
- If wiring is damaged, repair or replace, then reconnect securely.
2. Test or Replace the Discharge Air Temperature Sensor
- The DATS sensor is usually a small probe within the return or supply air duct.
- Remove the sensor and use a multimeter to measure its resistance. A good thermistor should show a measurable resistance that changes with temperature.
- If there is no reading or infinity, then the sensor is defective.
- Try substituting it with a similar Honeywell DATS sensor of your model (e.g., EMM-3U, HZ311, HZ322, HZ432).
- Restart the system and turn it on to determine if the purge light stops blinking.
3. Zone Control Panel Reset
In other cases, the purge fault will persist until the board is reset.
- Disconnect power to control board and HVAC unit for at least 30 seconds.
- Restore power and monitor the Purge light on the following system cycle.
- If the light is steady yellow, the issue is resolved. If it continues to blink, go to the next step.
4. Purge Override or Emergency Heat Button
Most Honeywell zone panels have a Purge Override or Emergency Heat button.
• Pressing this button will cause the system to exit purge mode temporarily.
• If the light stops blinking but reappears after some time, it’s a sign that the issue lies with the DATS sensor or wiring.
This is a diagnostic tool only — not a fix.
5. Inspect the Zone Control Board
If wiring and sensors are fine, then the issue might be with the zone board.
• Ensure there is no burned component or corrosion on the circuit board.
• Check proper transformer voltage and connections being tight.
• If the board is old or visibly damaged, replacement is the best step.
6. Inspect Zone Calls and Damper Operation
In multi-zone systems:
•If one zone is calling for heat and another for cooling, the board can purge between mode changes.
•Cycle dampers open and closed on every call. Monitor dampers.
•Replace any malfunctioning damper actuators or motors.
7. Inspect LED Patterns
The Purge light typically operates along with other LEDs on the control panel:
•Solid yellow = Normal mode purge
•Blinking yellow = Fault is detected
•Blinking red or green = Other system diagnostics
Observe the exact blink pattern. If the Purge light blinks in a specific sequence (say, two short blinks and then a longer one), check the service manual of the model for the meaning.
Also read: Does Nest Thermostat Have a Battery
Sample Scenarios from Homeowners
Below are real-life situations posted by Honeywell users:
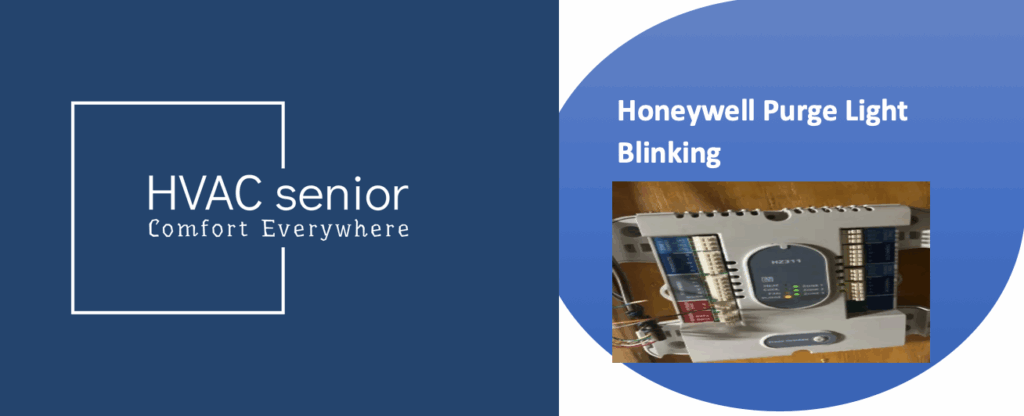
Case 1: A homeowner noticed the Purge light blinking on his HZ311. After reconnecting a loose DATS wire, the system returned to normal immediately.
Case 2: A second customer experienced repeated flashing of the Purge light even after resetting it. Replacing the DATS sensor corrected the problem.
Case 3: A technician found a damaged board where the DATS input was shorted internally. Replacing the control board fixed the problem.
Case 4: Duplicate calls between thermostats in multi-zone residences resulted in continuous purge cycles. Adjusting the zone settings and rewriting the thermostat programming put an end to the blinking.
These examples confirm that the blinking purge light almost always ties back to the DATS or its connection.
When to Call a Professional
If you’ve tried all these troubleshooting steps and the Honeywell purge light keeps blinking, it’s time to call a licensed HVAC technician.
A professional can:
- Test voltage, resistance, and communication between the board and sensors.
- Replace or reprogram the zone control panel.
- Check transformer output and overall HVAC system balance.
- Verify that each zone damper and thermostat are wired correctly.
DIY repairs are fine for basic checks, but if you’re not comfortable with electrical work, don’t risk further damage.
Preventing Future Purge Light Problems
You can avoid seeing that blinking yellow light again by following these maintenance tips:
1.Secure wiring connections. Periodically inspect all terminals on the zone board for corrosion or looseness.
2. Replace sensors every couple of years. DATS sensors are inexpensive and easy to replace before they fail.
3. Avoid moisture exposure. Dry control panels and eliminate sources of condensation.
4. Maintain the HVAC system on a regular basis. Annual inspections ensure all the zones, dampers, and thermostats work in conjunction properly.
5. Label all the wires and zones. Labeled wires will be time-saving and prevent confusion in case future troubleshooting is needed.
Also read: Honeywell Thermostat Not Showing Cool Option
Final Thoughts
Flashing purge light on a Honeywell system is not something you can dismiss. It’s an internal signal that the zone control board is showing a problem, typically with the Discharge Air Temperature Sensor (DATS).
By inspecting wiring, checking the sensor, rebooting the system, and checking damper function, you can typically have things running again in a snap. If the issue persists, a trained technician can assess whether the control board itself has failed.
With regular maintenance, solid wiring, and regular sensor checks, your Honeywell zoning system will run smoothly — keeping each room in your home at a comfortable temperature and your purge light steady instead of blinking.